Welcome to Moda Fabrics!
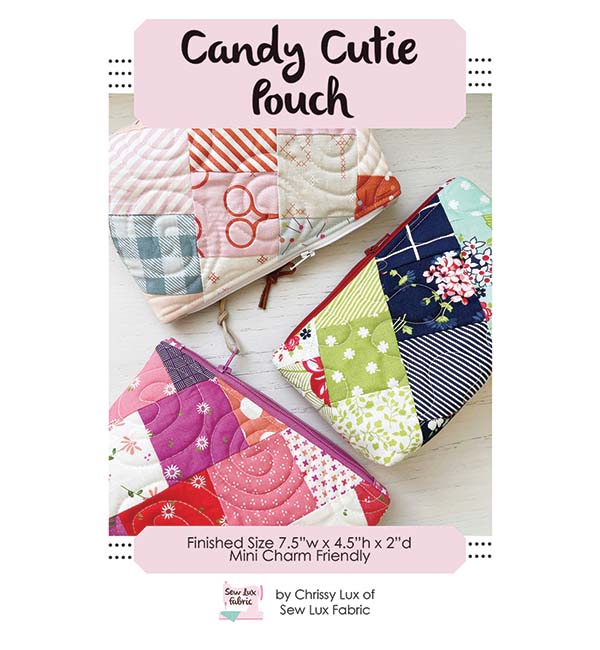
Pouch Club: Candy Cutie Pouch
Pouch Club: Candy Cutie Pouch
Published:
Jun 15 2023 - 06:50
The Candy Cutie Pouch is the first in our Pouch Club Series here on the Moda Blog! This pouch is beginner friendly and a great way to show off a favorite collection using a Mini Charm.
Materials Needed:
You will need the following to complete this project:
- Candy Cutie Pattern
- 1 Mini Charm
- F8 of coordinating lining
- Soft & Stable or alternative batting approx 14" x 18")
- 10" or longer zipper.
PDF patterns & kits are available in our shop at Sew Lux Fabric or ask your local quilt shop to carry the paper pattern and kit one up for you!
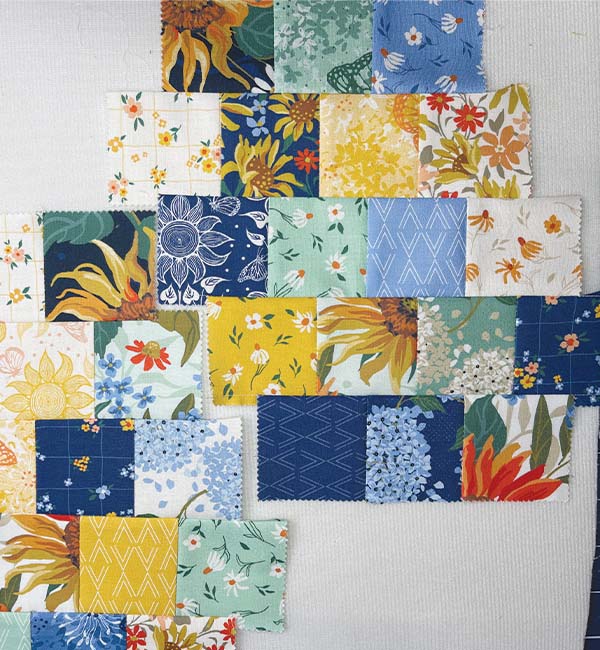
Step One: Piece
Piece two panels for the exterior of your pouch. This is a great time to play around with the prints and arrange them randomly or in a gradation of color. Follow the directions in the pattern to sew together rows of 3 and 4 squares to make two panels.
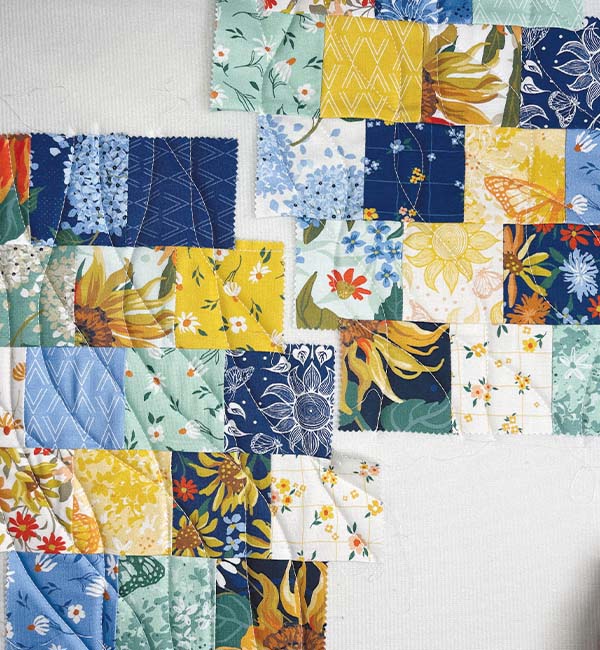
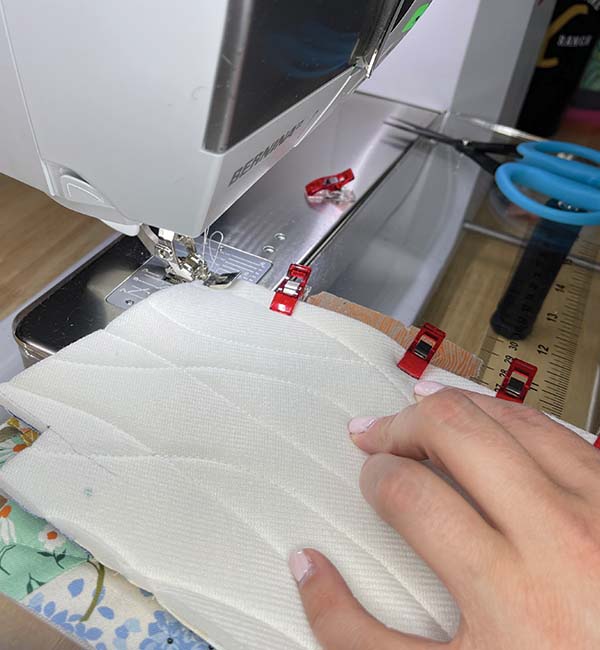
Step Two: Quilt
Baste the panels to Soft & Stable (or batting of your choice - you could use cotton batting, fusible fleece, etc). We like to spray baste for this project. And then quilt as desired. This is a great time to try out free motion quilting or use a walking foot. We enjoy quilting some wavy lines across the panels as shown below.
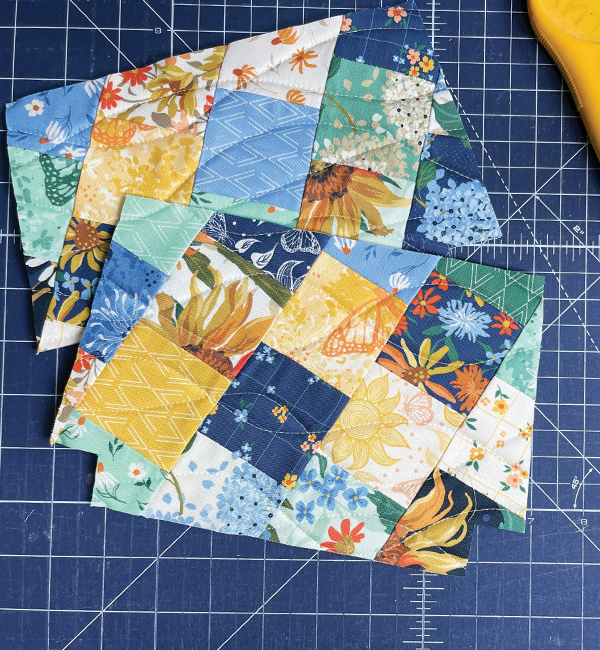
Step Three: Trim
Trim the panels according to the instructions in the pattern. Trim to rectangles and then make the cut outs for the corners to shape the bag. You will trim two lining pieces the same way.
Step Four: Prepare the Zipper
To make a zipper tab, start with a 2" square and fold it in half, pressing the crease. Then fold in two raw edges to the crease and press again. Fold so the raw edges are enclosed and now you can trim the zipper and place the end in the tab and secure in place with a line of topstitching.
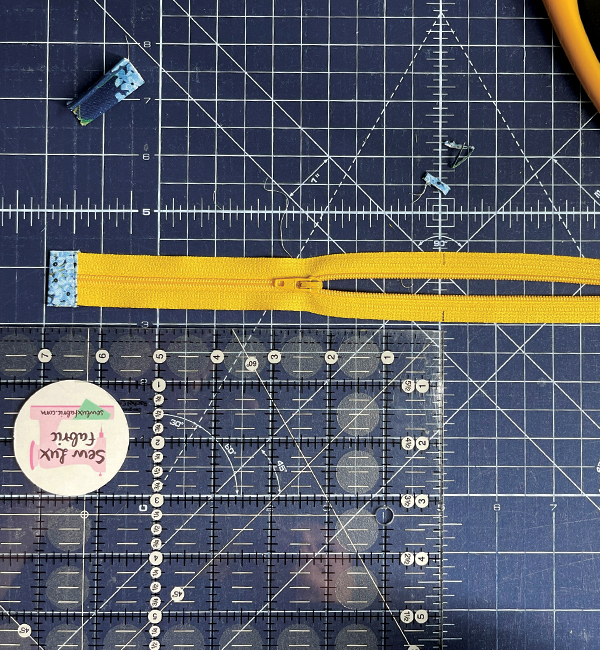
Trim the zipper tape to the appropriate length. (I measure the top edge of my pouch and subtract one inch.) Be sure the zipper pull is out of the way so you don't cut it off and trim the tape. Add a zipper tab to the open end and your zipper unit is ready to be installed! Now you should have all the pieces you need to put it all together!
Step Five: Install the Zipper
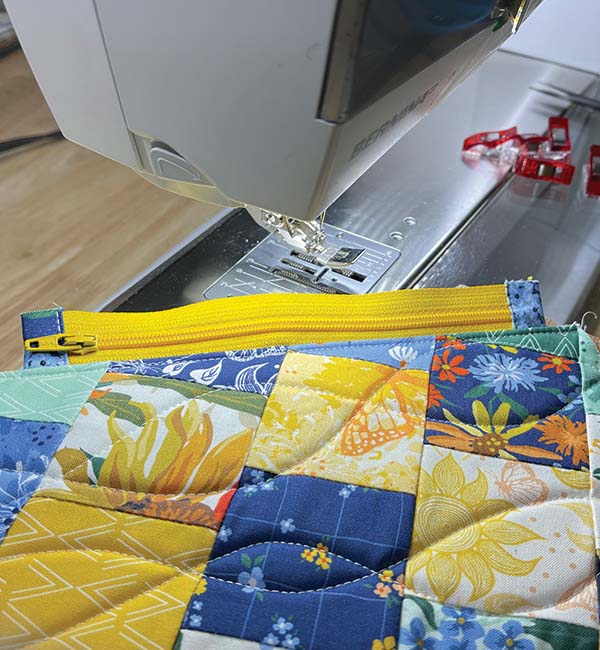
Place the zipper unit right sides together aligned with the top of one pouch exterior. Center the zipper so there is approximately 1/2" on either side. Place the lining right sides together on top so the zipper unit is sandwiched between the exterior and the lining.
Use your zipper foot to sew the layers together, stopping to move the zipper pull out of the way.
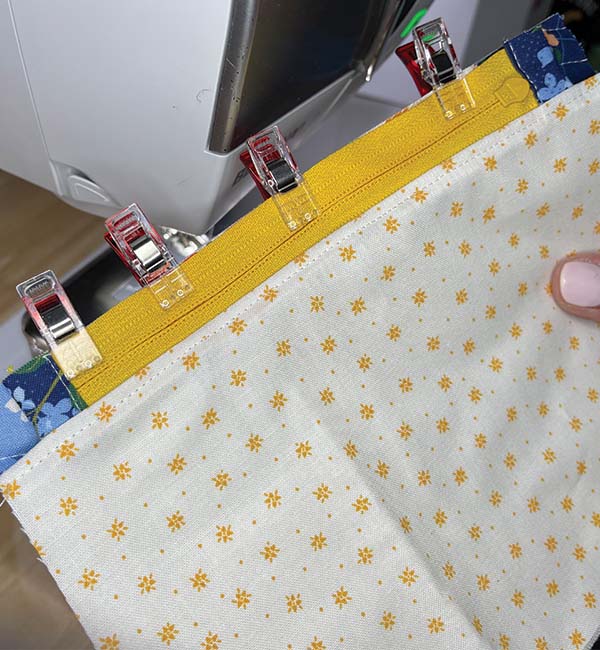
Press the layers away from the zipper unit and top stitch to keep them nicely in place.
Repeat the process to add the remaining exterior and lining pieces to the opposite side of the zipper unit.
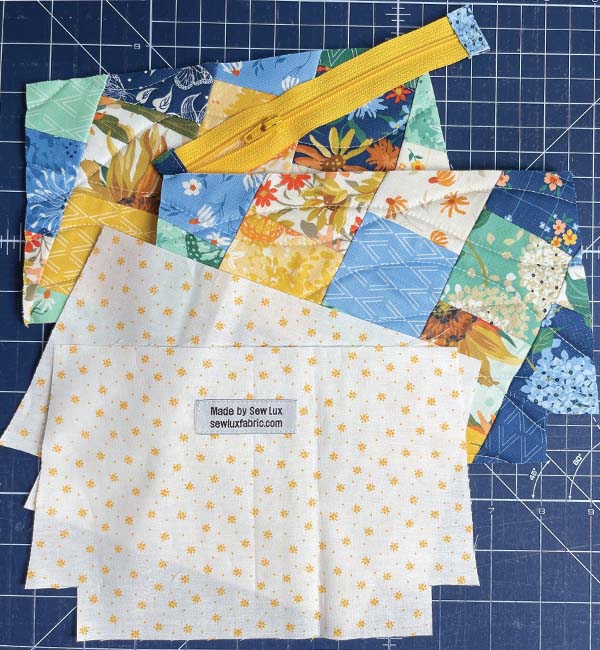
Step Six: Assemble the Pouch & Box the Corners
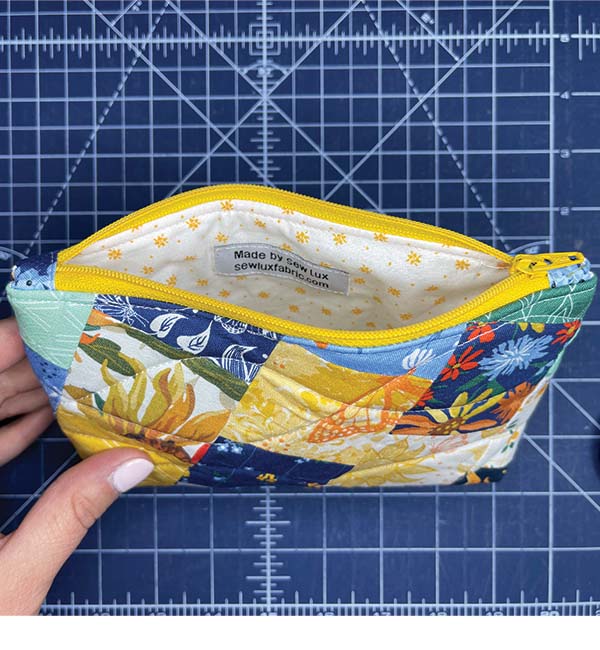
Your pouch should look like this after installing the zipper:
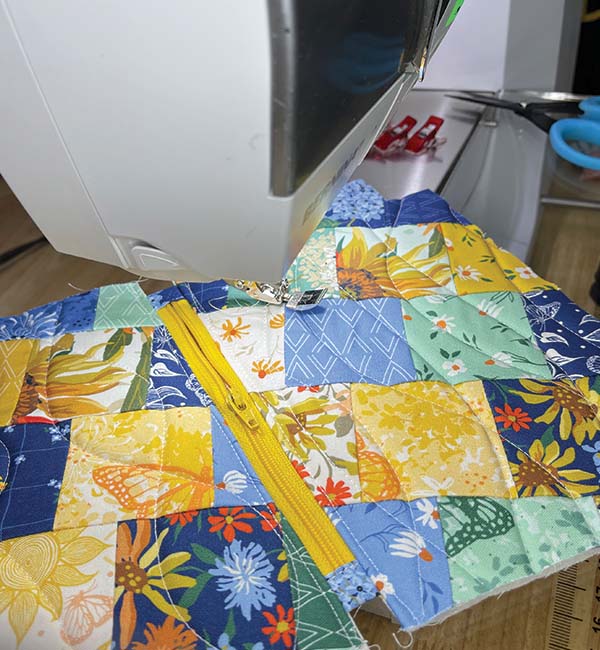
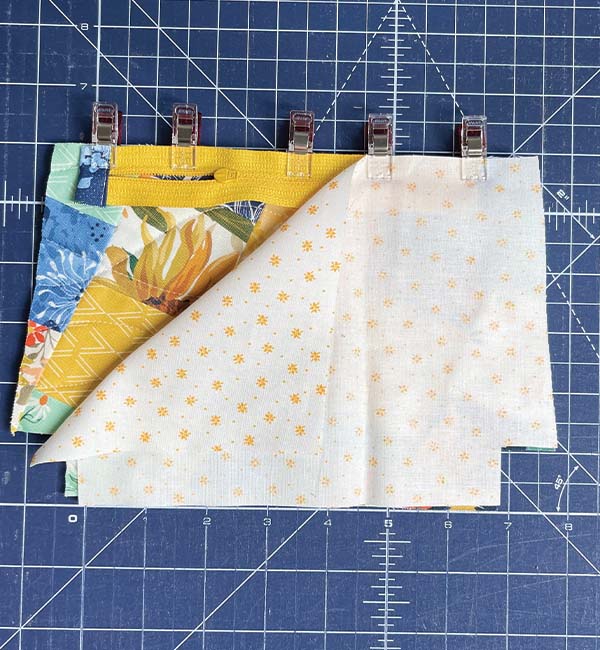
Open the zipper and then place the exterior panels so they are right sides together. Secure in place with clips or pins. Then do the same for the lining.
Sew a 1/4" seam on all sides, being sure to backstitch at the beginning and end. You will leave a 3-4" hole in the center of the bottom of the lining so you can turn the pouch right sides out.
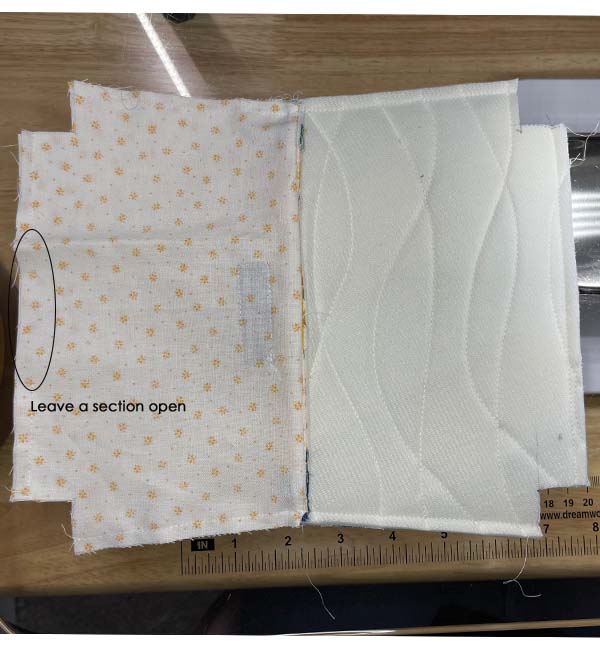
Box the corners, by pinching the side and bottom seams together and lining them up. Sew the opening closed. Repeat in each of the four corners.
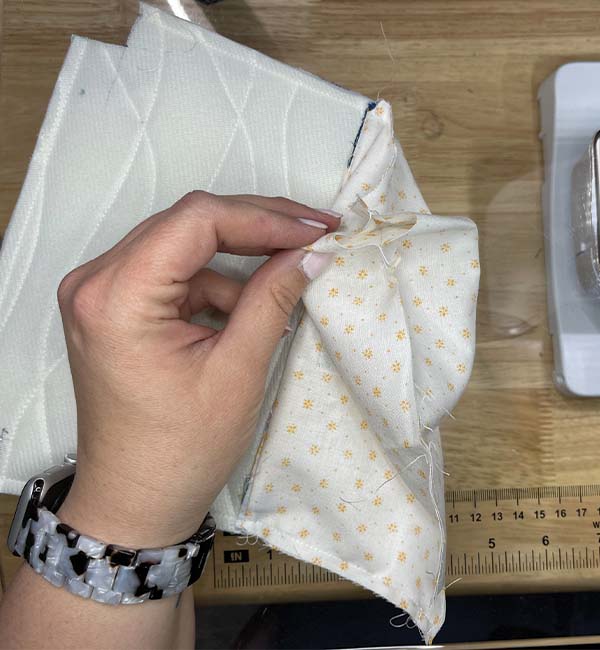
Finally, carefully turn the bag right sides out by bringing it through the hole in the bottom of the lining. Gently push out all the corners and then close the hole in the lining by hand or machine.
If necessary, you can use an iron to gently shape the bag.
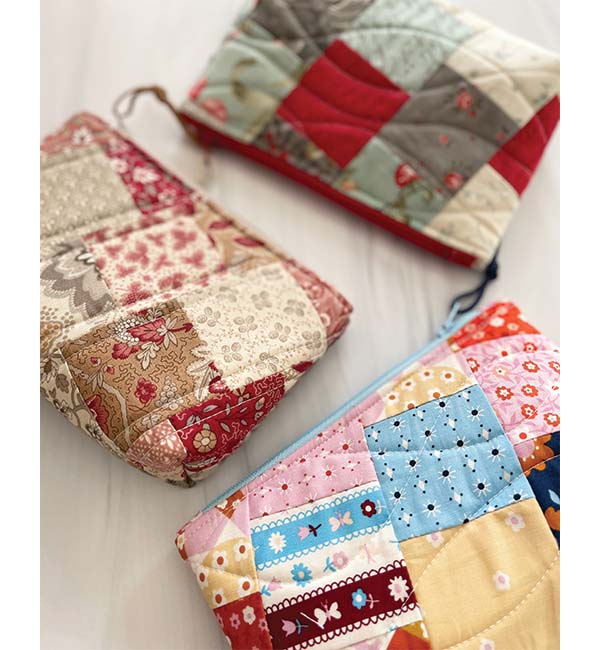
No matter your favorite Moda designer or collection, this project is sure to look great! Here are a few more Candy Cuties I've made recently (top to bottom): Collections for a Cause Etchings by Howard Marcus (arriving November), Chateau de Chantilly by French General (arriving September), and Lil by Kim Kight (available NOW).
If you are interested in a video tutorial for the Candy Cutie, check out this link.
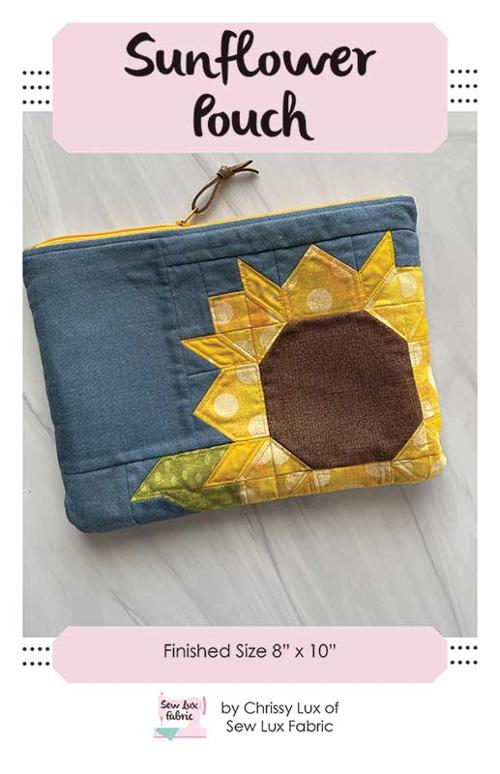
Next month, we will be making the Sunflower Pouch. See you back here on July 20th for the next installment in the Pouch Club Series.
Posted in:
Comments