Welcome to Moda Fabrics!
Dec 15: Shining Star
Dec 15: Shining Star
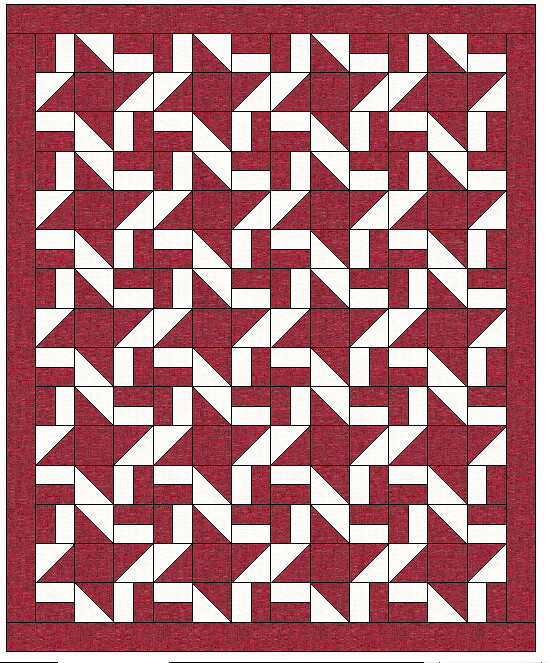
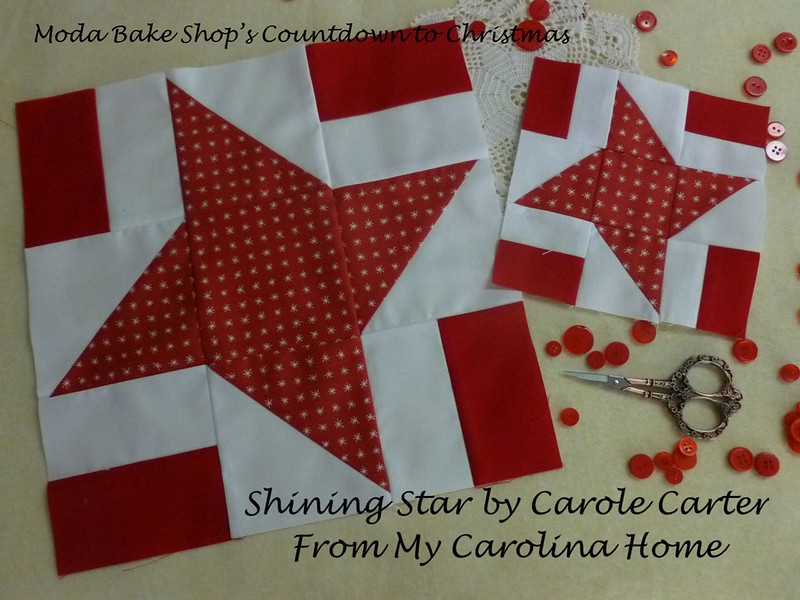
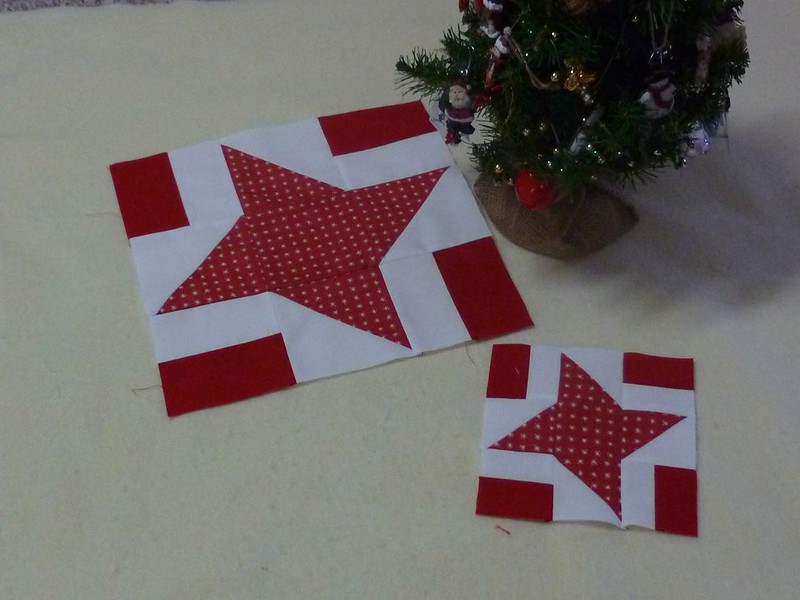
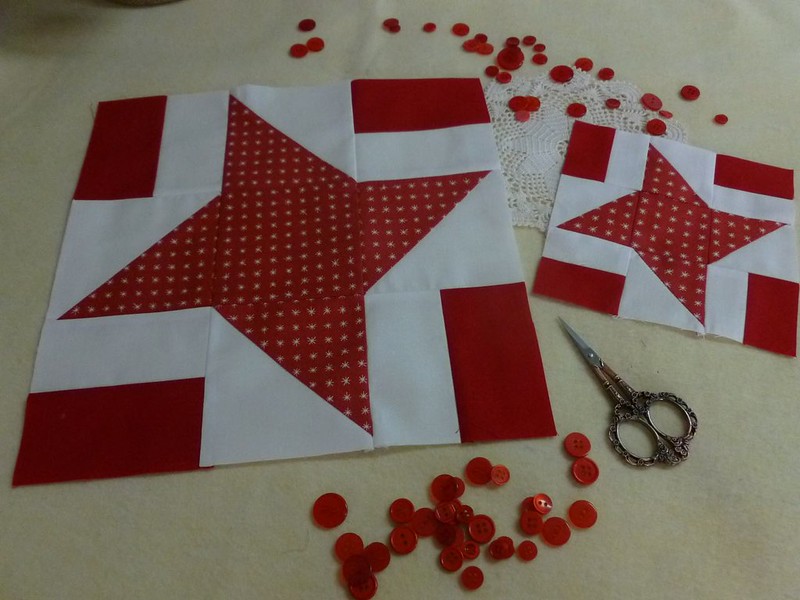
The Countdown to Christmas is moving along, and I am delighted to join Moda for my block, Shining Star. This block has two meanings. We all know that a Shining Star showed the way for the wise men. It also reminds us to be the shining stars of our own lives, rejoicing in our blessings. Thank you for joining me today! I'm Carole, and I blog at From My Carolina Home. This is a simple and easy block to make, just a few squares and rectangles to cut, with a couple of half-square triangles to sew. Use it in a sampler with the other blocks in the series, and I'll show you how the stars twinkle if you make a quilt with it alone.
This block finishes at 6" or 12" square.
| 6" Block | 12" Block |
|---|---|
| From white fabric, cut (2) 3” squares and (4) 1-1/2 x 2-1/2” rectangles |
From white fabric, cut cut (2) 5” squares and (4) 2-1/2 x 4-1/2” rectangles |
| From solid red fabric, cut (4) 1-1/2 x 2-1/2” rectangles | From solid red fabric, cut (4) 2-1/2 x 4-1/2” rectangles |
| From red print, cut: (2) 3” squares and (1) 2-1/2" square | From red print, cut: (2) 5” squares and (1) 4-1/2" square |
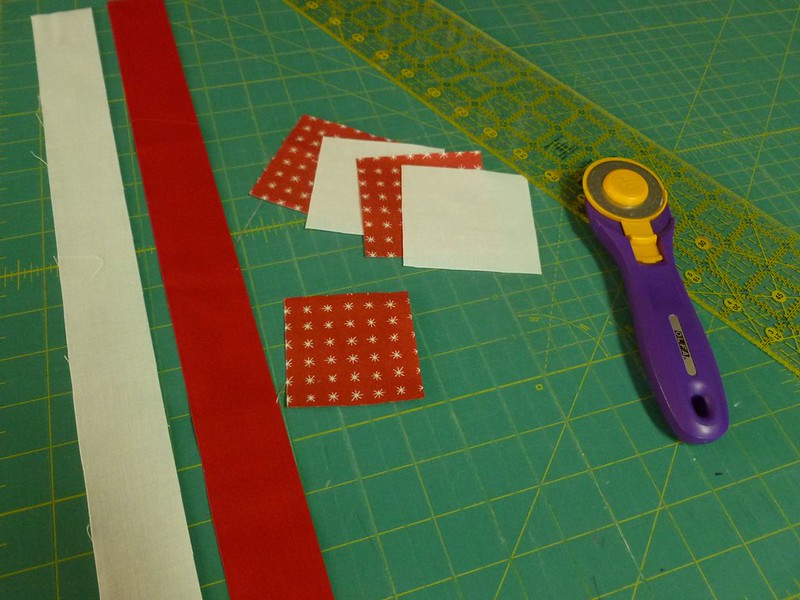
Start by cutting the squares and rectangles you need according to the size you are making. I find it easier to cut a long strip for the rectangles, sew the two colors together and then cross cut into the smaller units.
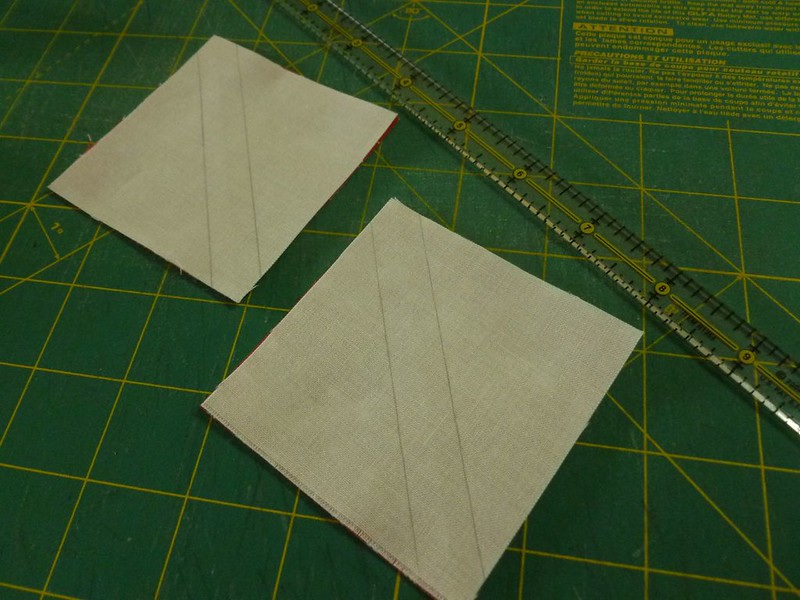
Begin with the 3-inch (or 5-inch) white squares and the same size red print squares for the size you have chosen. Draw sewing lines 1/4" away from the center on the diagonal across the back of the white squares. I use a special ruler for this, but if you do not have one, just draw a single line diagonally in the middle, and use your quarter-inch foot to sew 1/4" away from the line on both sides.
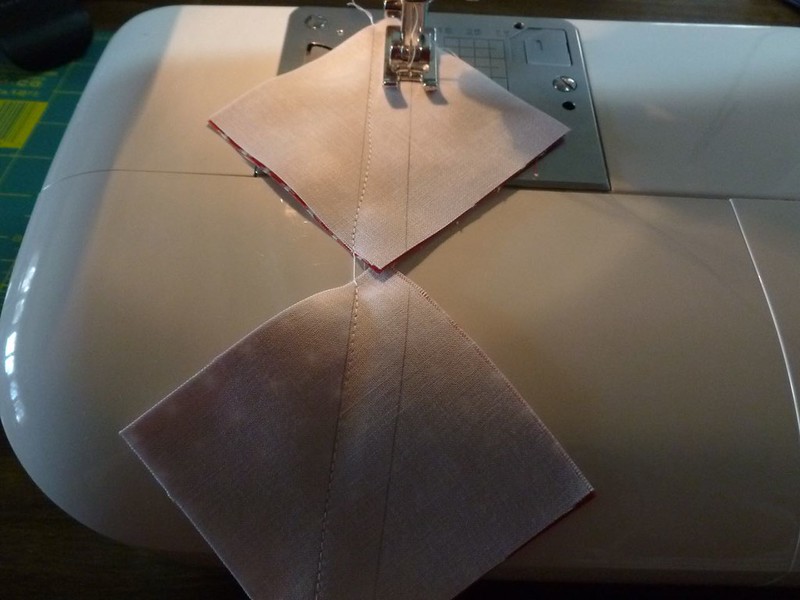
Pair them right sides together with the red print and sew on the lines. Use the chain piecing method to save time, especially if you decide to make more than one block.
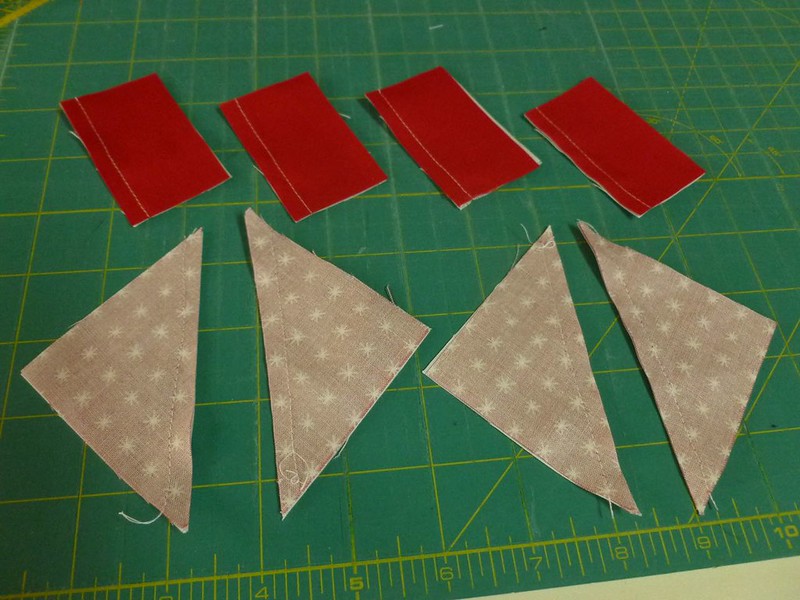
Cut the triangles apart and press to the red side. Pair the white rectangles with the solid red rectangles and sew along the long side with a 1/4" seam. (Or, if you did one long strip, cross cut into the proper size.) Press to the red side.
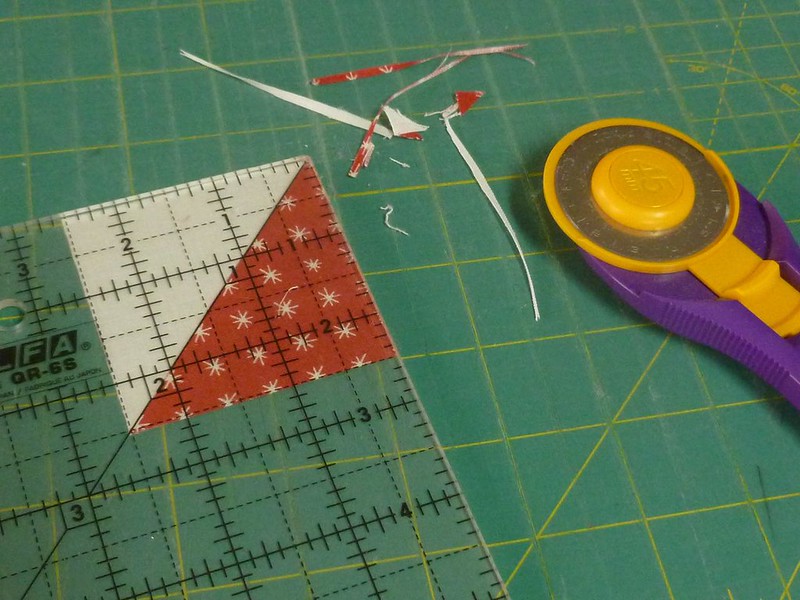
For the 6-inch block, the units should measure 2-1/2" square, and for the 12-inch block, the units should measure 4-1/2" square. Use a square up ruler to trim your units to the correct size if needed.
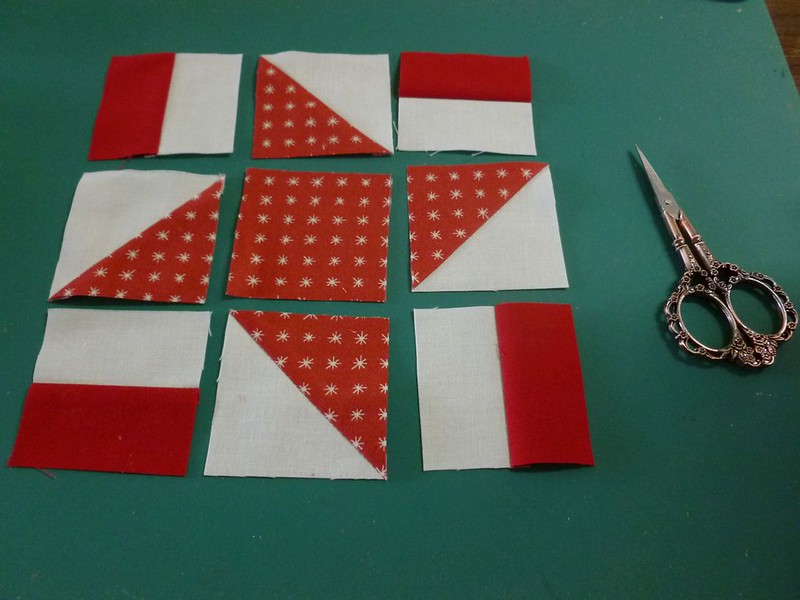
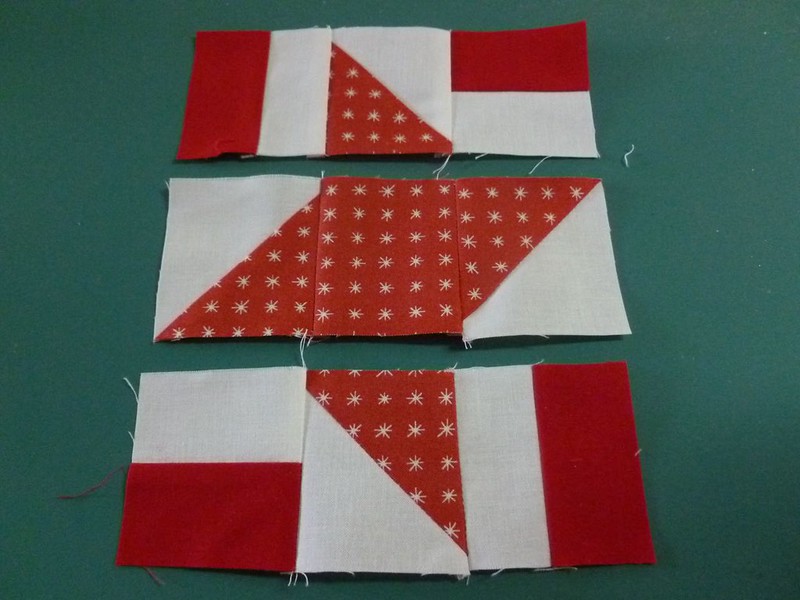
Arrange the half square triangle units, the rectangle units and the smaller red print square as shown.
Sew in rows, pressing the seams on the top and bottom rows in the opposite direction from the middle row to allow nesting of seams. Sew the rows together.
All done, now you have a Shining Star for your sampler Countdown to Christmas quilt! The 12-inch size would also make a nice center to a set of placemats with a Christmas print border. The smaller size could be made into a mug rug for a quick hostess gift.
Make a quilt of Shining Stars and see the twinkles form between the blocks.
This block finishes at 6" or 12" square.
Come see more Quick Christmas Projects on my blog, From My Carolina Home. I hope you enjoy all the Countdown to Christmas blocks by the rest of our talented Moda Bake Shop Chef family!
Merry Christmas!
Carole Carter
{blog: FromMyCarolinaHome}
{shop: FromMyCarolinaHome on Craftsy}
{facebook: FromMyCarolinaHome}

Comments